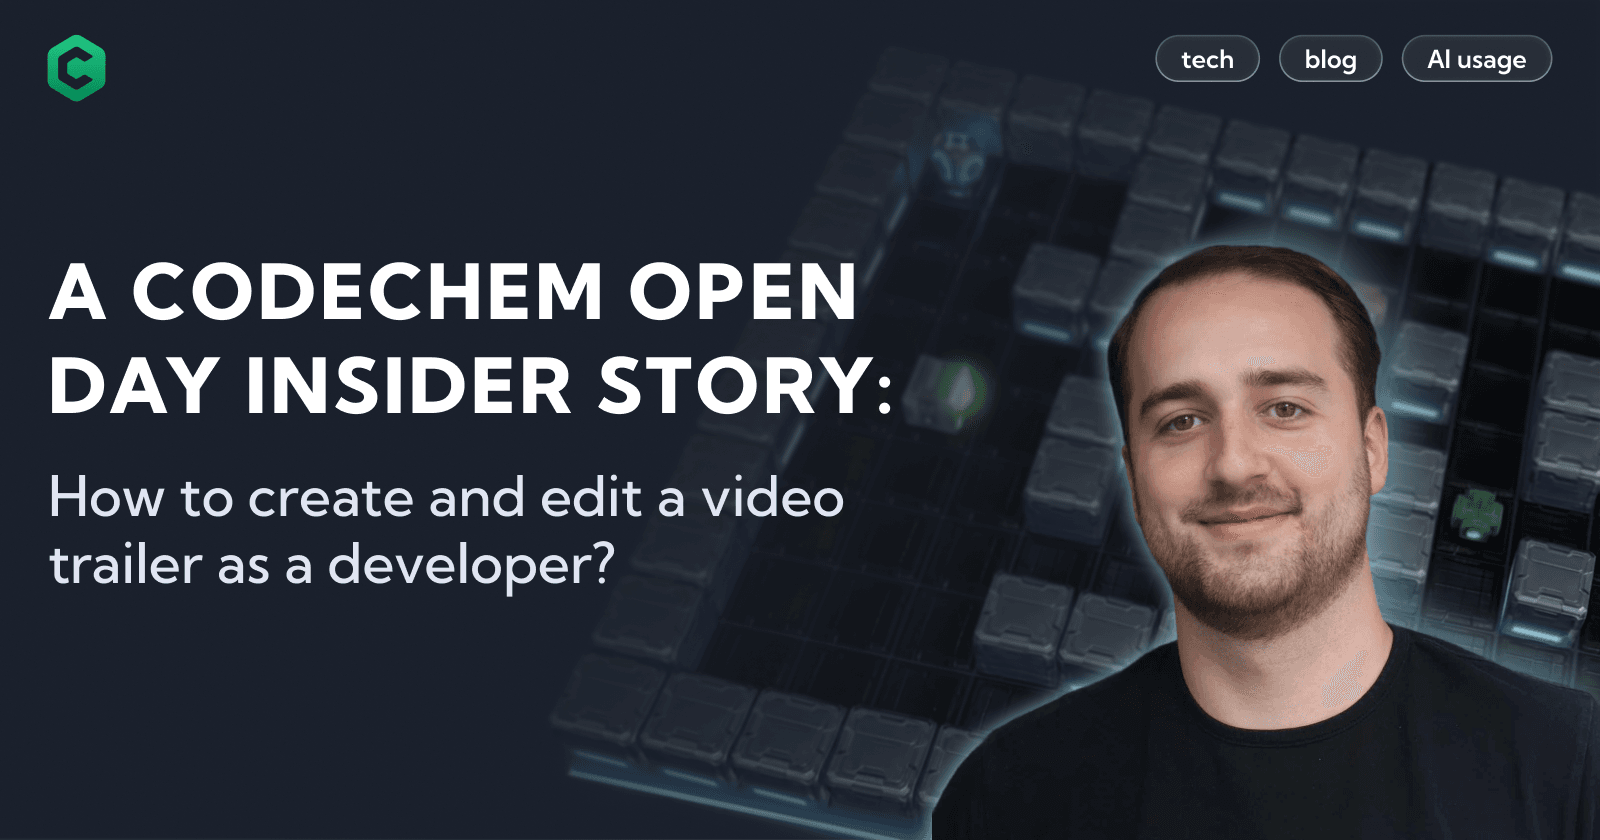
A Codechem Open Day Insider Story: How to create and edit a video trailer as a developer?
I'm a Full-Stack Software Engineer with expertise in Node.js, React and AWS. Dabbling in many more technologies. Born in Bitola. Based in Skopje.
Intro
Developers are good at coding, yes. We know how to write code and how to implement a feature. Some know how to build a whole product from start to finish. But there is a moment where we are dependent. We depend on people who work in marketing, sales, design, motion graphics,...
That's fine, and it makes sense, we'll always need them to build out a full, professional, and complete product. But what if we want to do something quick for our product? What if we don't have those resources, or we are a solo wandering developer? What if we want to test out a few different advertisements for our "work in progress" project? What if we just want to know how to create a video trailer or advertisement for a product that we created?
In this short blog, I will be going through the process, challenges and steps I took to create a video trailer for a game that I was working on. A game that was the main challenge at this year's Open Day event at CodeChem.
Check out the trailer: https://www.youtube.com/watch?v=p5ZjxRY8RlM
Open Day
First of all, Open Day is an event that we host at CodeChem every year. It has become our tradition and signature event. Something that we pour a lot of energy and effort into, for the sole purpose of it being a day that everyone enjoys and has the opportunity to grow. We prepare for months before, we work countless hours and weekends to make it enjoyable and satisfying for everyone. Because of this, it has gotten a lot of popularity amongst the community throughout the years. Each year, we have gotten better at it, and that shows in the increasing number of applications. This year, we had more than 500 applicants in Software, Embedded, QA, and Design categories. I was working on the challenge that we presented on the Open Day itself.
This year, we had a very interesting game called "Circuit Rescue". Circuit Rescue is a puzzle game placed on a motherboard where the main goal is to restore all broken circuits and escape. You are a circuit-bot navigating a deteriorating motherboard. It has disconnected circuits, misaligned doors, sockets,.. Every restored connection brings more of the board back online.
Each year so far, we have had a 2D game. This year, we decided that we have to spice things up, so we added a dimension. We created a 3D game, which was a big challenge for us as well. But the benefits were obvious: better look, more satisfaction, and more opportunities to learn. Then the idea came to create a trailer. If we are creating a 3D game, we obviously have to create a trailer for it... How would we present such a cool game otherwise? This is a story of how a developer created a "semi-amateur" video trailer.
Generating the materials
Lately, AI has been THE hype. We, as developers, have to stay up to date with everything going on in our industry, so of course almost every one of us uses AI daily in their work. Throughout the past months, I have become better and better at using AI agents in my work (or the agents have gotten better, not sure). I found that getting better at prompting AI agents as a developer for code also makes you better at prompting them for everything else.
By practicing getting what you want as an engineer, building out your code solution, you also get better at building out ANYTHING. All you need is the idea, plan, and structure. I know, right? That's the toughest part, but it still means that if I have an idea, plan, and structure, I can create videos as a developer. That's why I decided to test my code vibing skills on video vibing.
Throughout this blog post, I will attach images to show how the whole process went. Within Veo3 (Google's AI tool for generating videos), there were cases where I generated images, uploaded existing images/screenshots, and then generated videos. The content is usually placed on the left of my screenshots, and the prompts used to generate that content are usually placed on the right. To generate an image or video, you can use the following options in the chat bar, as well as configure video settings.


I started out with an idea that came from a colleague of mine, Ilija. He had generated this scene in which the circuit-bot appears in a dystopian-like abandoned universe and lands on a motherboard. I really liked this scene, and I started developing my ideas from there.

Then my idea was clear. I immediately imagined an intro scene where something in the context of "Codechem presents" appears, like those popular viral trailers with catchy and intense music at the beginning. My next step was to create a banner with animations that showcase the exact idea I had.
Then, just before generating the video, I thought of the transitions. I knew I would have to edit the generated videos together, since Google's model Veo3 only generates up to 8 seconds. So I asked myself how I would transition from a “Codechem presents” banner into a scene with robots. One idea was to fade to black, then fade out of it into the next scene. This is a common transition pattern for videos.
And I knew it would be easy to apply a fade-in or fade-out effect in video editing software. So, this meant that I had to generate the videos in a way that they would remain simple to edit and connect after all the scenes were generated. So I took an existing banner that we have from Codechem, I set it as the first frame, and then set the vast universe picture as the ending frame.
With a transition request to fade into black after the “Codechem presents” scene appears. Veo3 can generate 1-4 videos depending on your requirements. I was generating 3 videos per prompt and was choosing the best one. The following scene is what I liked most, and I went with that. I didn't like some parts of it, but I knew that I could trim and cut it any way I wanted when editing.


After getting the intro scene done, the next step was to create the vast universe scene. I knew I had to somehow get to the final board in the end. I knew that the circuit bot had to end up in the actual boards/levels we had in the existing game. But how do we get there? Ilija (my colleague) had already generated an image where the circuit bot is moving on a motherboard in some sci-fi-looking system.
So I thought, why not have the circuit bot land from space, crashing down onto a motherboard. We are currently in space, so the only way onto a motherboard is flying down, crashing on it through a portal, of course. I also used a similar concept for the transitions here, where I pointed Veo3 to generate a video where we go inside a portal and it turns full black. So that later on I can fade into the next video snippet where the circuit bot appears and crashes onto the motherboard.


After getting the circuit bot to land onto the motherboard, I instructed the next prompt, or rather, idea that I had. I now needed to get to the levels of the challenge itself. So, I wanted the circuit bot to slowly start moving after landing on the motherboard, go through wires and sci-fi systems, and land on a level of the actual game. I explained exactly that, and Veo3 generated really good options for me.

So, moving through the motherboard and getting to a level. Easy, I saved the last frame of the “moving through the motherboard” video and set it as the starting/first frame of the new video I want to generate. The ending frame was the actual board from the game itself.
And again, lo and behold, Veo3 generated a very nice animation where the circuit board lands on the level. But I couldn't have it land on a bird's-eye view of the level, so I took a picture of our game where we are first sideways onto the board, sort of like a POV view of the board, since that is how the previous video was generated (the one where the circuit bot travels through the motherboard).
Only after getting that POV version of landing on the motherboard, I generated a video where we get from that POV version to the birds-eye view (default view) of our game. Here’s what came out and what I used:


Okay, so now we got to what we wanted in the beginning. I have materials and snippets for everything except for the actual board of our game. Now it is time to showcase the levels of the actual game. What I thought of is using Level 1 as the start frame and using Level 2 as the end frame.
This gives me a transition from Level 1 to Level 2. Then, next up, I can transition from Level 2 as the start frame to Level 3 as the end frame. That way, I got 4 videos of all levels shown with transitions between them.

Perfect! We got material for all levels and the next step is an outro, of course. I instructed Veo3 to have the Codechem logo (with wires, since we have a Circuit Rescue game) that I had previously generated somewhere and inside a block on the final level.
Then I told it to zoom in on that logo so I could continue with my outro. It then zoomed in on a “C” made of wires that glowed blue and was a square. But our logo is a green hexagon, so of course I had to tell it to generate a transition from the blue square to the green hexagon.


That could've been enough, but I was missing the game name at the end. This is a trailer for a game at the end of the day, so I obviously had to include the game name at the end. So, I generated a banner for the end and requested the transition to the Circuit Rescue logo first, and then to the ending banner.

Editing, cutting, clipping, effecting, transitioning,…
Getting the video materials was quite easy, or it seemed intuitive and fast. I think I was lucky to have thought to edit before generating the actual videos, and that is why I had no issues with this part as well. Editing went smoothly only because I was thinking about editing while generating the videos. You have to point and adapt your ideas to the transitions you plan to use when editing. Without that, you will be having a hard time connecting all these 8 second videos into a whole trailer…

Since I have previous experience with Adobe Premiere Pro, I decided to use it as my editing tool. I first imported all the media I have inside Premiere and started placing the clips on the timeline.
I started with the first intro clip. It wasn't as good as I wanted it to be, so I cut out the part that I liked most. And placed that on the timeline. I made the clip finish in its fade-into-black transition. This way I could introduce the next clip with a fade-in effect.

The next clip was the vast universe, the introduction to the circuit bot. I added a fade-out-from-black effect and cut the next clip exactly how I wanted it. Then the clip continued its transition into the blue portal. This looked really good. I was already very excited when I got that smooth transition from the "Codechem presents" banner into the blue portal.
After this, since we went into the blue portal and the scene there turned full black, I used the same technique from before. Bring the new clip in with a fade-out from black effect. Boom, the circuit bot now appears, and the clip where it lands on the motherboard plays.

The next transition was the first in which I had to face a major inconsistency. Even though I used the end frame of the motherboard landing clip as the start frame for the traveling on the motherboard clip, it still didn't look smooth enough when connecting the clips. There was a small offset between the two pictures which made it look bad.
There was a stutter, and it didn't look professional at all. Then I got to thinking about what effect I can use to make that transition smooth. I thought of shaking the whole scene so the stutter isn't noticeable, but then I got a better idea. I could use the disadvantage of having a stutter as an advantage. Since we have a stutter "effect" from the bad transition, I decided to cover it with a "glitch" effect.
I googled how to make a glitch effect in Premiere and found a 3 minute video guide of how to do it. I followed the instructions, and at the end of the first clip, I introduced the glitch effect, continuing it into the beginning of the next clip. That way I got a smooth transition between a stuttering transition of two clips.


Next up, the landing on the board clip went smoothly, there was no stutter there. But the next clip, which introduced the transition from POV to birds-eye view, had the same stuttering issue. I already had a solution for that issue, so I used the same glitch effect technique. Again, I managed to get a smooth transition.
Then, I had to do the level transitions. Since these were pretty static, with zero to no movements, except for the actual blocks on the board, it was pretty easy to do these transitions. I just had to manipulate the length of the videos, so I get the smoothest transitions possible. After a lot of adjustments, I managed to get all videos together and got to the Level 4 scene.

Next up was the outro phase. I had the scene where we zoom into the Codechem blue square logo. And I added all clips left for the outro. Again, I used a few glitch effects for un-smooth transitions and a few cuts here and there, and finalized the whole video.

I was very happy with the whole outcome. The editing phase for the whole video was done. I had a 1:26 minute video trailer with smooth transitions, exactly how I wanted it. In the beginning, though, I had planned to have a professional trailer done. So, of course, I had to have music, sound effects, and a narrator.

Audio, sounds and voices
The audio part went very smoothly. First, I want to point out that Veo3, when generating videos, also generates audio effects for those videos. All audio effects generated by Veo3 were on point. The transition and animation noises, the going inside the portal effect, the crashing on the motherboard sounds, the circuit sounds, everything was on point. So I left that as it was.
My next step was to add a narrator. I had previously used a tool from ElevenLabs for generating voice from transcripts. They are pretty good, and there are multiple voices to choose from in their Free tier. Before generating a voice narration, I had to create a transcript. So, I went to ChatGPT for help.
I created a whole timestamp timeline of my clips.
This timeline included timestamps for the transitions in the trailer I had created, with descriptions of what was happening at each time point. I explained to ChatGPT what I needed and explained the whole game and its lore. I asked for a medium paced transcript that fits these timestamps and includes everything that is needed to create a transcript that is catchy and makes you pay attention to everything that is happening in the trailer.

Then ChatGPT responded with an awesome transcript I really liked. I passed this transcript to ElevenLabs text-to-speech and chose the voice I liked most for the vibe of the whole trailer. Easy as that, I got my narration for the trailer.

Then I imported this audio file into Premiere and placed it on the timeline. Interestingly enough, probably because of the timestamps I included, the narration fit perfectly. Every word from the narrator fit exactly what was happening in the trailer at the moment the narrator spoke about it. I, of course, had to move it here and there a bit, cut out a part of the narration and leave a silent part where he went too fast, but with a few cuts and arrangements, it ended up fitting perfectly.
Now we have a trailer with audio effects and a narrator. The final step of my audio journey was adding music. Every trailer has music, and choosing it is one of the hardest things to do. I knew I had to have something intense, catchy, something that grabs your attention but fits that sci-fi vibe of the whole scene.
I needed a Hans Zimmer sort of music. I went on Google searching for royalty-free and copyright-free music that I am allowed to include in the trailer. Went through a lot of songs, and when I heard one song, I knew it was the one. It fit perfectly with the whole trailer. I got that music into the trailer, and it was amazing.

Something still felt off, the sound effect, the music, and the narrator were too much at the same time. It was a lot to listen to and slightly annoying. Then I remembered something about music production, since I had dabbled in it. Sometimes music producers split certain instruments and notes on different channels in stereo.
This means I might hear the bass guitar in my left ear, the drums in my middle ear, and the main guitar in my right ear. You can even choose how much of a percentage it should be heard on which channel. So I decided to try this out. I put the narrator in the middle channel at 0% with the highest volume, since it is the main sound.
I put the music on the left channel at around 20%, with lower volume. And, the sound effects on the right channel at around 20%, with an even lower volume. A few minutes after playing around with the percentages and volumes a bit, I got to the perfect state.

I was finally satisfied with the whole trailer. It looked and sounded amazing. Starting out from a few images and getting to that video trailer at the end felt satisfying. It looked to me, at least, like something that I didn't expect I could do.
I exported the finalized video, and it was ready for Open Day. It was ready for Circuit Rescue.
Conclusion
After finishing the video, I sent it over to all of my colleagues to see if they liked it. The video trailer got amazing feedback, and everyone was super excited to have it included in the Open Day presentation.
At Open Day, I was super happy to see all candidates focused and hooked on the trailer. We showed the trailer at the initial presentation before starting the challenge implementation. It was the introduction to this year's challenge. People seemed super interested in the challenge and event after it, and I was really satisfied with what came out in the end.
Of course, this isn't a professional video. It is far from it. There are people who are professionals in this sort of work and spend weeks or months on 1 minute trailers for a game. Of course, there are people who are against using AI for this purpose or art. And I understand it, it does take the creativity out of the equation.
But does it really? Wasn't it creative thinking of the whole plan, creative thinking of what images to have, creative thinking of what transitions and animations to include? Wasn't it creative thinking, figuring out how to connect all clips together, how to deal with bad transitions, and what audio to include where?
I still think this is a win. A developer trying to get out of the coding comfort zone and explore a different zone. It is the culture we cultivate here at Codechem. Everyone is able to learn new things and explore new things. What started as an idea that was thought to be complicated turned out to be a good game trailer. Even though it is not a professional studio level trailer, it was good enough to make people happy and interested in the game and Open Day itself.
And to circle back to my initial point at the beginning of this blog. Using AI the right way opens doors that were locked before. If you get good at using AI the way it should be used, and you have the engineering mindset. You can do many more things than just code.
P.S. This whole blog was written with 0% AI usage